
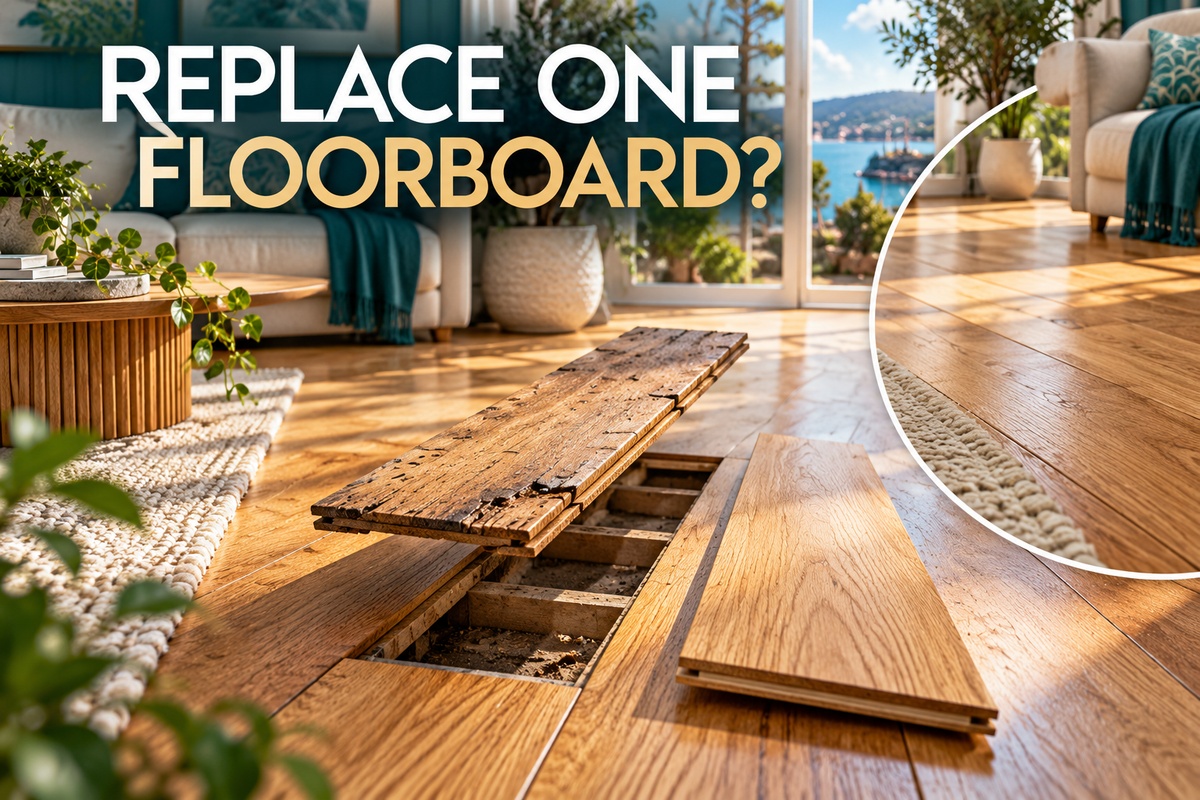
Yes, you can often replace individual floorboards when damage is confined to particular boards and the surrounding floor remains sound. The right approach depends on whether the floor is solid or engineered timber, how it is fixed, and whether matching boards are available. Moisture or structural problems need attention first. A successful repair also needs a finishing plan: replacing one board does not automatically make its colour and sheen match the rest.
| What you find | Most appropriate next step | What determines the result |
|---|---|---|
| One split or deeply damaged board, with sound surroundings | Assess local board replacement | Matching dimensions, secure support and compatible fixing |
| Light scratches confined to a sound coating | Assess surface repair or recoating first | Coating condition and product compatibility |
| Soft timber or continuing water damage | Find and resolve the cause before repair | Moisture readings and the condition beneath the boards |
| A damaged floating plank near a wall | Check whether the floor can be dismantled from that edge | Locking system, access and manufacturer instructions |
| An isolated damaged plank in the centre | Consider an approved local replacement method | Joint design and permitted adhesive or repair procedure |
| A sound repair that looks different | Test colour and finish before choosing the refinishing area | Timber species, ageing, coating and light |
| Movement or damage across a larger area | Inspect the floor system rather than swapping one board | Subfloor, supports, moisture and expansion provision |
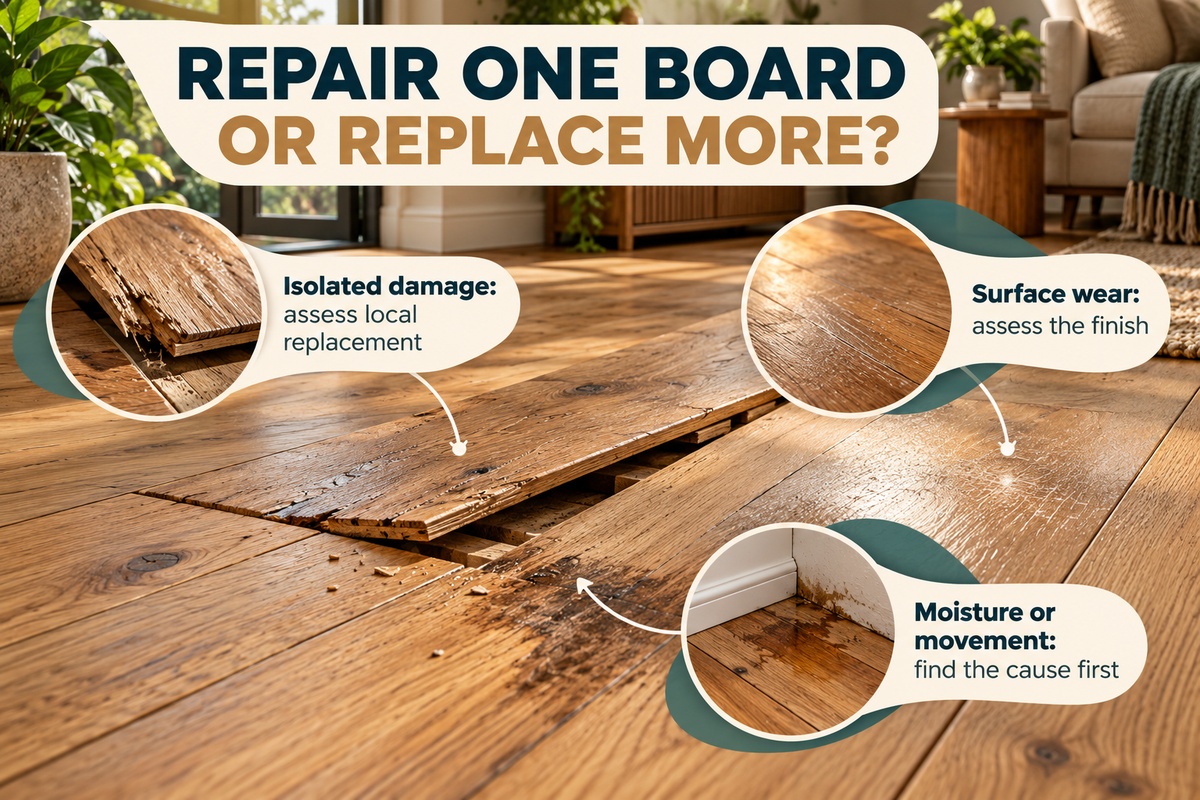
When Can You Replace Individual Floorboards?
A damaged board does not automatically condemn the floor around it. The important question is whether the defect is isolated or evidence of a problem affecting the whole installation.
Damage that can suit local replacement
A split board, broken edge, deep gouge or persistent stain may justify replacement when the neighbouring timber is stable. Replacement can also be appropriate where a repair would leave a conspicuous patch or where a board has lost the strength needed for its position.
The visible mark is only part of the assessment. A board damaged by an impact presents a different problem from timber that has softened because water is still entering beneath it. The first may be a contained repair; the second needs investigation before a new board is fitted.
Damage that may not need a new board
Fine scratches, dull patches and worn finishes sometimes affect the coating rather than the timber. Compatible local treatment or recoating may preserve a sound board. Deeper marks can sometimes be reduced through sanding, provided enough suitable timber remains and the floor construction allows it.
Small gaps also need diagnosis. Seasonal movement, loose fixings and damaged joints require different responses. Filler is not a substitute for a stable floor.
Signs that the repair needs a wider scope
Widespread movement, repeated cracking, soft patches or changing distortion can indicate conditions beyond the damaged plank. Local replacement may still form part of the solution, but it should follow an assessment of the underlying cause. Replacing the most obvious board alone can leave that cause untouched.

Identify the Floor Before Choosing a Repair Method
Similar-looking floors can be built very differently. The installation method determines how a board can come out and how its replacement must be supported.
Solid timber flooring
Solid timber may be nailed to joists, fixed over a sheet subfloor or installed using an adhesive system. In older homes, the boards may themselves span the supports rather than sit on a continuous base.
For a structural floorboard repair, the replacement needs appropriate support at its ends and adequate fixing. A piece that fits the opening neatly is not necessarily structurally suitable. Existing tongues, grooves, board thickness and the condition of the supports all influence the detail.
Engineered timber flooring
Engineered boards have a real timber surface over a layered construction. Their top layer varies by product, so appearance alone does not establish whether sanding is possible. Product identification and assessment of remaining timber are important before committing to refinishing.
Matching also involves more than finding a similar oak or hardwood colour. Board dimensions, bevels, surface texture and the joint profile must suit the existing floor. A discontinued product may require a different repair strategy if compatible stock cannot be sourced.
Floating and click-lock flooring
Floating boards form a connected floor that moves as a system. An accessible damaged plank may be reached by dismantling boards from an edge; a central plank may need a product-approved local replacement technique.
The alternatives are described in Premium Floors’ board replacement guidance, but the detailed procedure must match the actual flooring product. A repair should not accidentally fix a floating floor to the substrate or obstruct its intended movement.
| Floor construction | Main repair consideration | Useful identification information |
|---|---|---|
| Solid boards over joists | Support, fixing and remaining board condition | Board profile, thickness and joist position |
| Solid or engineered boards bonded to a base | Removal without unnecessary damage to the substrate | Adhesive system and substrate condition |
| Floating engineered flooring | Joint integrity and freedom of movement | Manufacturer, product code and locking profile |
| Previously sanded flooring | Remaining usable timber | Exposed edge or another reliable inspection point |
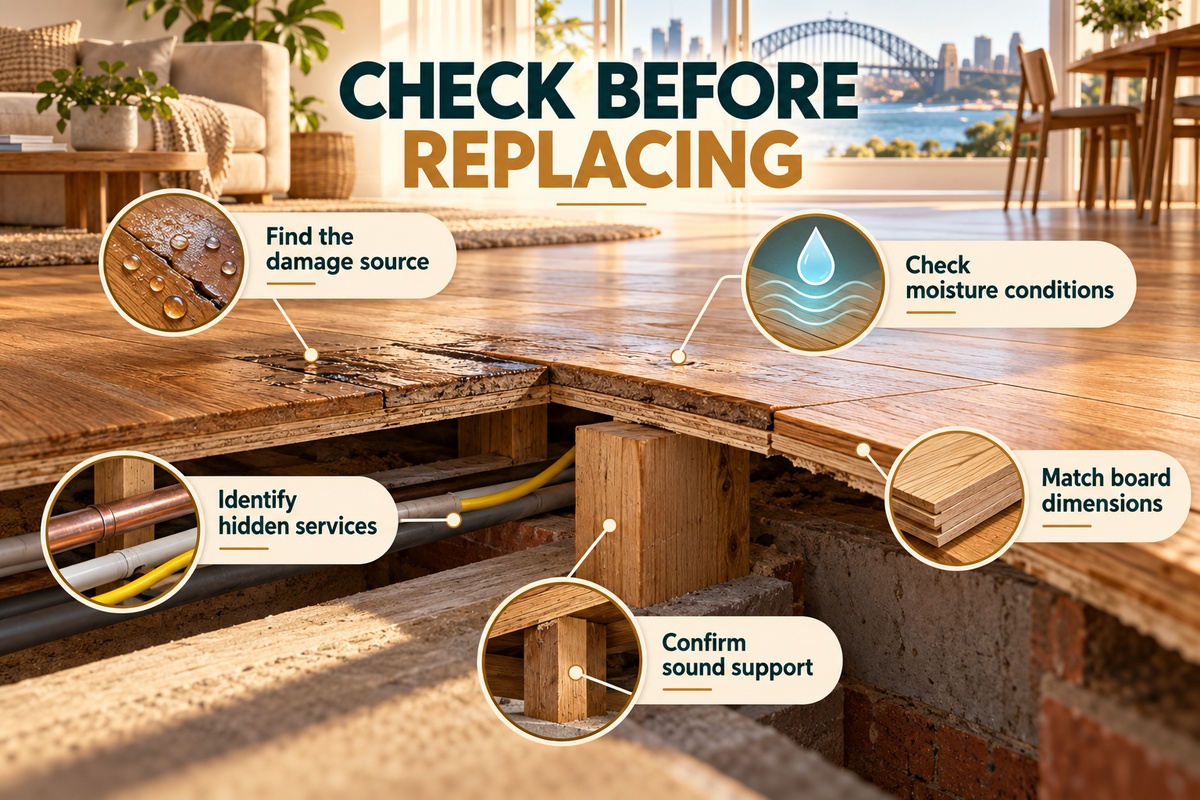
What Must Be Checked Before a Board Comes Out?
A repair plan starts with the floor as a whole, not the saw cut. These checks help establish whether an individual board replacement is appropriate and what it needs to achieve.
- Identify the source of damage, including leaks, persistent spills, movement or impact.
- Check moisture conditions in the affected area and compare them with suitable surrounding locations.
- Identify the flooring product, fixing method and any available installation instructions.
- Confirm the replacement board’s width, thickness, profile, species and surface treatment.
- Inspect accessible supports or the subfloor for damage, movement or contamination.
- Locate concealed services before any cutting or fastening.
- Check access around cabinets, doorways and skirting boards.
- Agree whether a visible colour difference is acceptable or broader refinishing is needed.
- Check relevant building or strata arrangements where the work affects shared access or flooring requirements.
Replacement timber also needs to suit the installation environment. There is no universal acclimatisation period that applies to every product and site: follow the applicable product guidance and confirm conditions rather than relying on a generic waiting time.
For Sydney properties, an initial review of timber floor repair and restoration services can help distinguish a local board problem from work that also needs sanding, finishing or installation expertise.
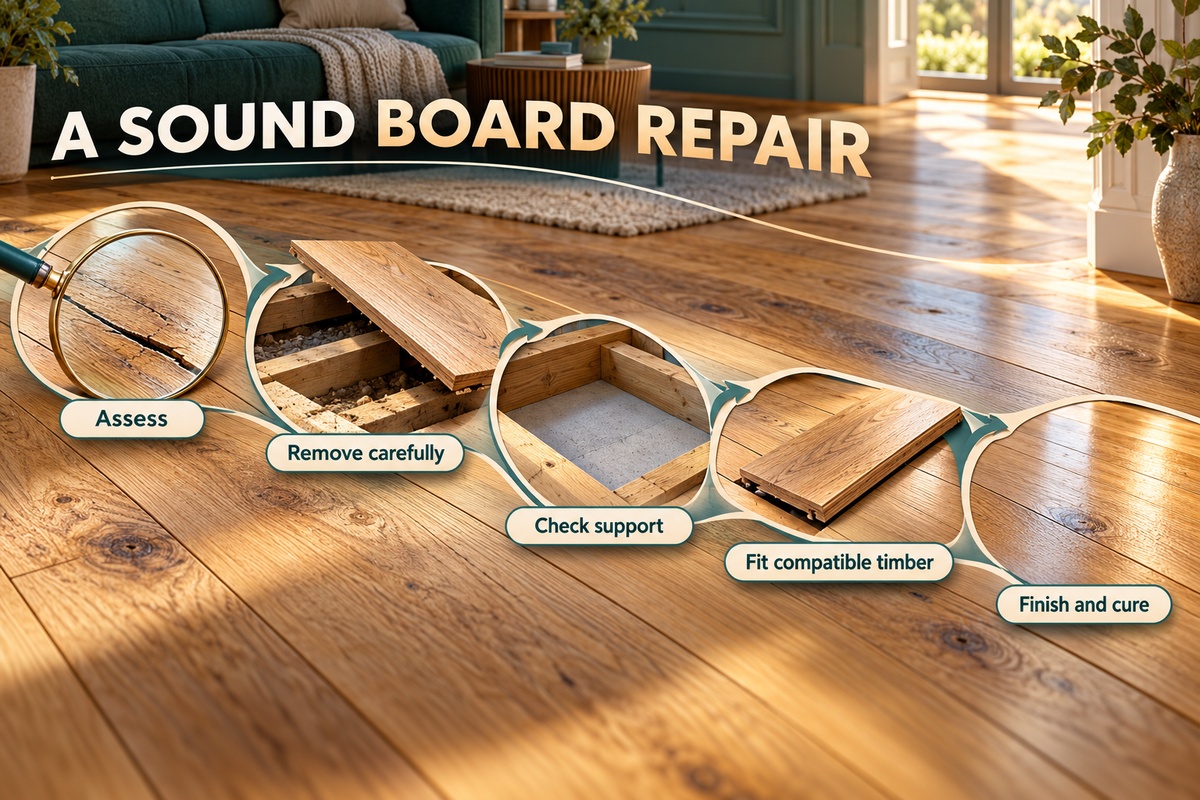
How Individual Floorboard Replacement Works
The sequence below explains what a well-planned repair involves. Exact cutting depths, joint alterations, adhesives and fixing details belong to the identified flooring system rather than a universal DIY recipe.
Assess and prepare the replacement
The installer checks the damaged area, confirms the construction and selects compatible timber. A spare original plank is useful, although storage conditions and colour ageing still need checking. Where suitable stock is unavailable, the dimensions and joint profile may need specialist attention before removal begins.
The finishing approach should be considered at this stage. Discovering after installation that a replacement cannot be blended as expected creates an avoidable mismatch between the repair and the homeowner’s expectations.
Remove the damaged timber carefully
Depending on the system, boards may be dismantled from an edge or the damaged plank may be removed locally. The objective is to preserve neighbouring boards, their joints and the substrate wherever possible.
Cutting depth must be established from the actual construction, with concealed services considered first. A depth quoted for a different manufacturer’s board should not be copied onto an unknown floor. The same applies to altering tongues or groove edges: changes need to be compatible with the chosen repair method.
Restore support and fit the new board
The exposed area provides an opportunity to check what was hidden. Damaged supports, unsuitable substrate conditions or residual moisture need attention before the replacement is installed.
The new board is dry-fitted to check dimensions, level and joints, then secured using the appropriate method. Manufacturer instructions determine adhesive selection, preparation and curing requirements. Panaget’s plank replacement instructions illustrate why joint preparation and adhesive curing are part of the repair, rather than optional finishing details.
Complete the finishing work
A site-finished floor may need local preparation or a wider sanding and coating area. A factory-finished board may instead need to retain its original surface system. In either case, the repair is checked for movement, height differences and joint condition before it is handed over for use.
How to Match Replacement Boards to the Existing Floor
A close match starts with the timber itself. Species, grain, grading and board dimensions influence the appearance even before coating is considered. Reclaimed timber can sometimes suit an older floor, but it still needs checking for soundness, moisture suitability, usable thickness and profile. Similar age does not guarantee a compatible board.
Existing floors also change through light exposure, wear and previous finishing. A new board may look lighter, warmer or more uniform despite being the correct species. Compare samples in the actual room and under its normal lighting. Check the finished sample, not just bare timber, because the coating can alter how colour and grain appear.
Matching sheen deserves equal attention. A colour that looks convincing from above can still stand out when viewed across the room if the repaired patch reflects light differently. A good assessment explains the likely blend and its limits before promising an invisible repair. The aim is a sound, compatible result with a clearly agreed appearance, rather than a guarantee that natural timber will become identical.

Does Replacing One Board Mean Sanding the Whole Floor?
Not necessarily. The replacement area and the refinishing area are separate decisions. A board can be replaced successfully while a wider area needs treatment to achieve a consistent finish. Conversely, a compatible factory-finished replacement may not require sanding of the surrounding floor at all.
The decision depends on the existing coating, contamination, wear, remaining timber and the room layout. Spot finishing can leave a visible boundary, especially where the old surface is heavily aged or its product history is unknown. Treating a complete room or a natural stopping point may produce a more consistent result than feathering a small patch into an unsuitable surface.
Before choosing professional floor sanding in Sydney, establish that the floor can tolerate the proposed work. Engineered wear layers and previously sanded solid boards need particular attention. Where the existing finish is sound, a compatible recoating approach may be considered instead; the available timber floor polishing services provide a relevant starting point for that discussion.
What to Check Before Using the Repaired Floor
A repair is complete when it performs properly as well as looking acceptable. Adhesive and finish instructions should determine when the area can be walked on, furnished and covered.
- The replacement sits at a suitable level with adjacent boards.
- There are no loose edges, projecting fixings or obvious new movement.
- Joints and support suit the floor construction.
- Required movement gaps remain functional.
- The agreed colour and sheen have been checked in normal lighting.
- Access restrictions and curing requirements have been explained.
- Ongoing care follows the flooring and coating manufacturers’ guidance.
Keep the product details and any spare replacement stock. That information can make a future repair easier to assess and helps prevent incompatible cleaning or maintenance treatments being used later.
Frequently Asked Questions
The same practical questions arise whether one plank is damaged or a small group needs attention. These answers explain the limits of local replacement without assuming that every floor uses the same system.
Can a floorboard in the middle of a room be replaced?
Often, yes. Some systems allow a damaged board to be removed locally and replaced using an approved joint and adhesive detail. Others may be better dismantled from an edge. The board profile, installation method and access determine the appropriate approach.
Can engineered timber boards be replaced individually?
Many can, provided a compatible replacement is available and the installation permits a suitable repair method. The product’s locking profile, thickness and finish matter. Sanding the surrounding engineered floor is a separate question that depends on its usable top layer and manufacturer guidance.
Will a new floorboard match an old floor exactly?
An exact match cannot be guaranteed. Timber variation, ageing, sunlight and coating differences can remain visible. Matching stock and testing the finish improve the assessment, while broader refinishing may help achieve a more consistent appearance where the floor allows it.
Should water-damaged boards be replaced immediately?
First establish and address the water source, then assess the timber and supporting construction. Conditions must be suitable for the replacement system. Fitting new boards over an unresolved moisture problem risks repeating the damage and can hide conditions that still need attention.
Can I replace a section rather than a full-length board?
Sometimes. The section needs suitable support, joints and fixing, and the resulting layout should work visually. On a floor spanning joists, the support detail is particularly important. A short patch should not be chosen solely because it uses less timber.
Arrange a Timber Floor Repair Assessment in Sydney
If you want to replace individual floorboards, start by showing the damage and the surrounding floor to a flooring specialist.
Include photographs, any product details and information about leaks, movement or previous sanding. These help establish what needs checking on site.
Contact 5Star Wood Care Sydney to discuss a repair assessment and whether board replacement, local treatment or wider refinishing suits your floor.