
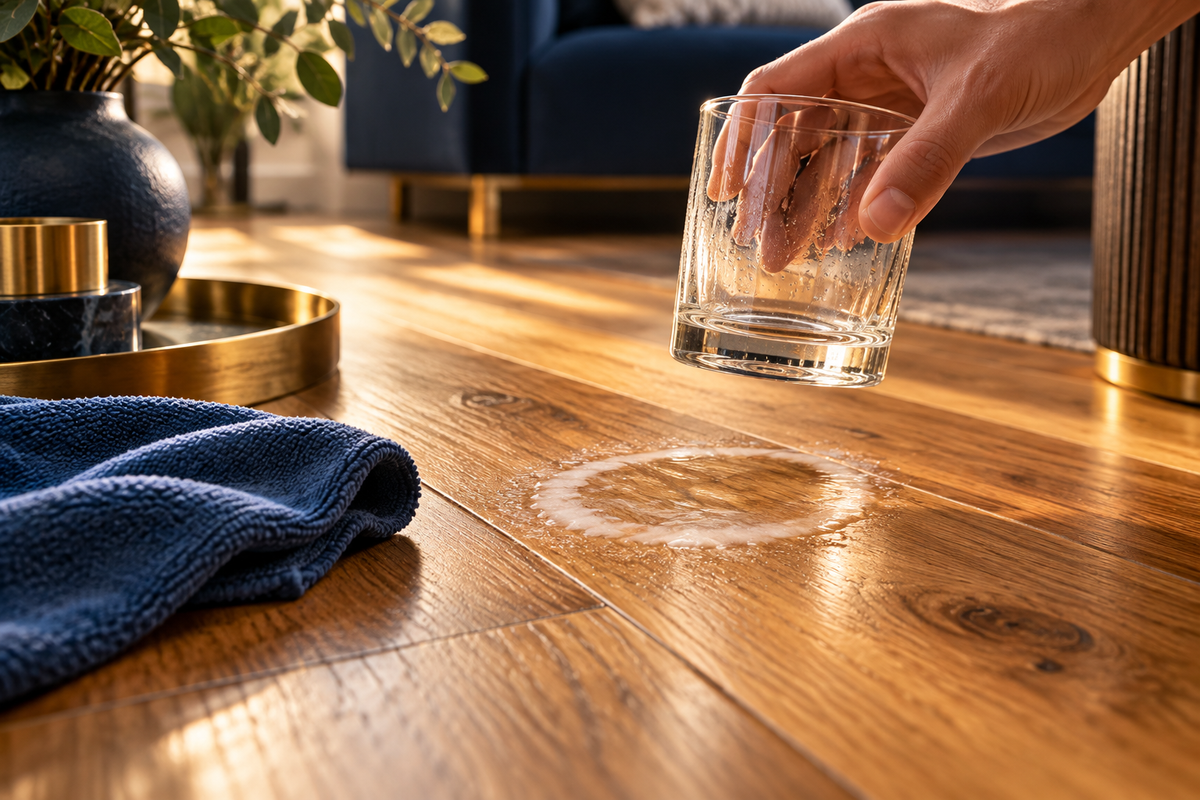
White marks on timber floors can be cleaning residue, fine surface damage, moisture-related cloudiness or a reaction within the finish. Start by removing any fresh spill and checking the floor’s care instructions, not by applying heat or abrasives. If an approved, discreet cleaning test does not help, or the coating peels, softens or the boards swell, stop cleaning and arrange an assessment before recoating or sanding.
| Appearance or timing | Possible explanation | First response |
|---|---|---|
| Pale streaks appearing after mopping | Cleaner residue or uneven product application | Check dilution, cleaning method and finish compatibility |
| A white ring after a wet object was removed | Moisture-related change in or on the finish | Remove the moisture source and inspect without heating |
| Dull white scuffs in a traffic area | Fine scratches or surface abrasion | Clean gently, then assess remaining finish damage |
| Milkiness soon after a new coating | A coating or curing problem | Contact the applicator before adding cleaner or polish |
| Recurring marks with raised edges or dampness | An ongoing moisture issue | Investigate the moisture source before cosmetic repair |
What White Marks on Timber Floors Can Mean
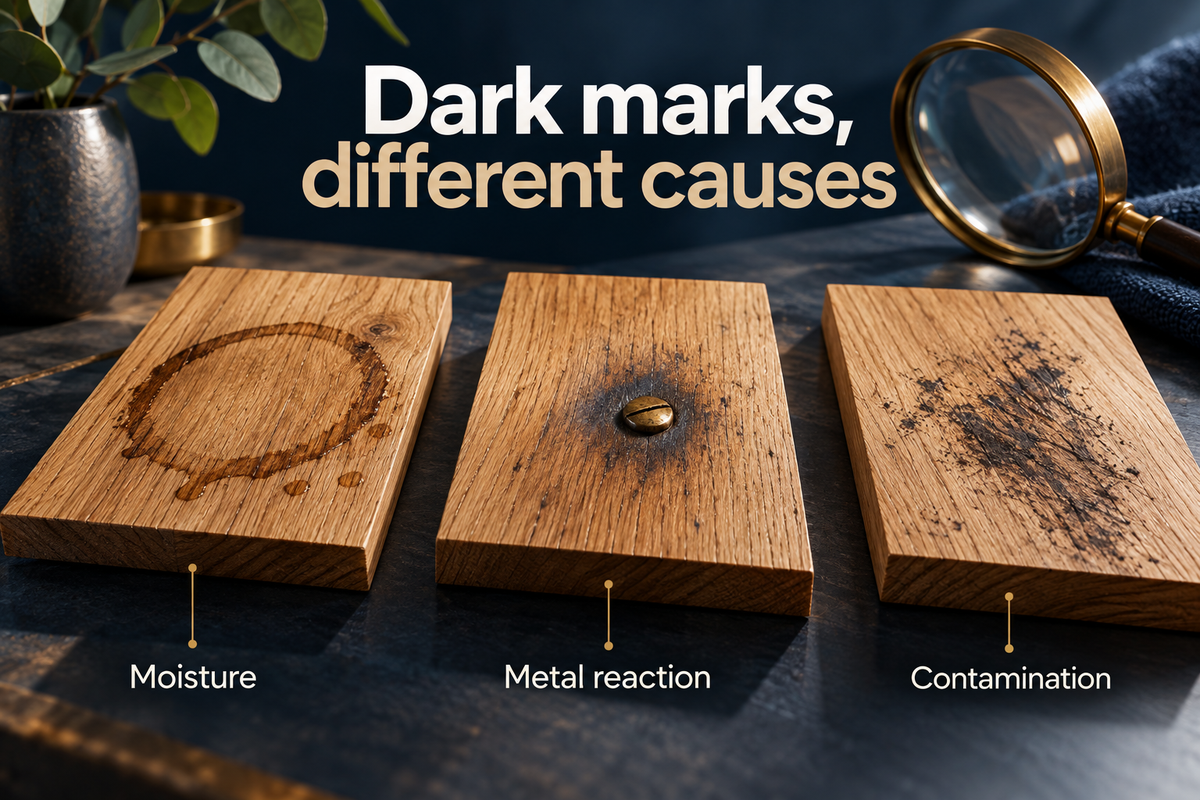
Similar-looking marks can need very different responses. Treat the pattern and the event that preceded it as clues rather than a diagnosis.
Residue on the surface
A cloudy film can develop after repeated use of an unsuitable cleaner or polish, incorrect dilution or a dirty mop spreading material across the room. The grain may remain clear beneath the film, while streaks follow the cleaning direction. More of the same product can add to the problem rather than remove it.
Moisture affecting the finish
A wet mat, spill or object can leave a pale area associated with moisture. White does not establish exactly how deep the damage goes or guarantee that the timber is untouched. Inspect the board edges and surrounding joints, particularly if the patch remains damp, grows or returns after apparently improving.
Abrasion or a coating reaction
Fine scratches scatter light and can make a dark floor look pale in well-used areas. Chemical exposure or a problem during coating can also change transparency or adhesion. Bona’s explanation of cloudy floors identifies several possible causes, including residue and finishing conditions. That range is why a single universal stain-removal trick is unreliable.
Check the Finish Before Choosing a Cleaner
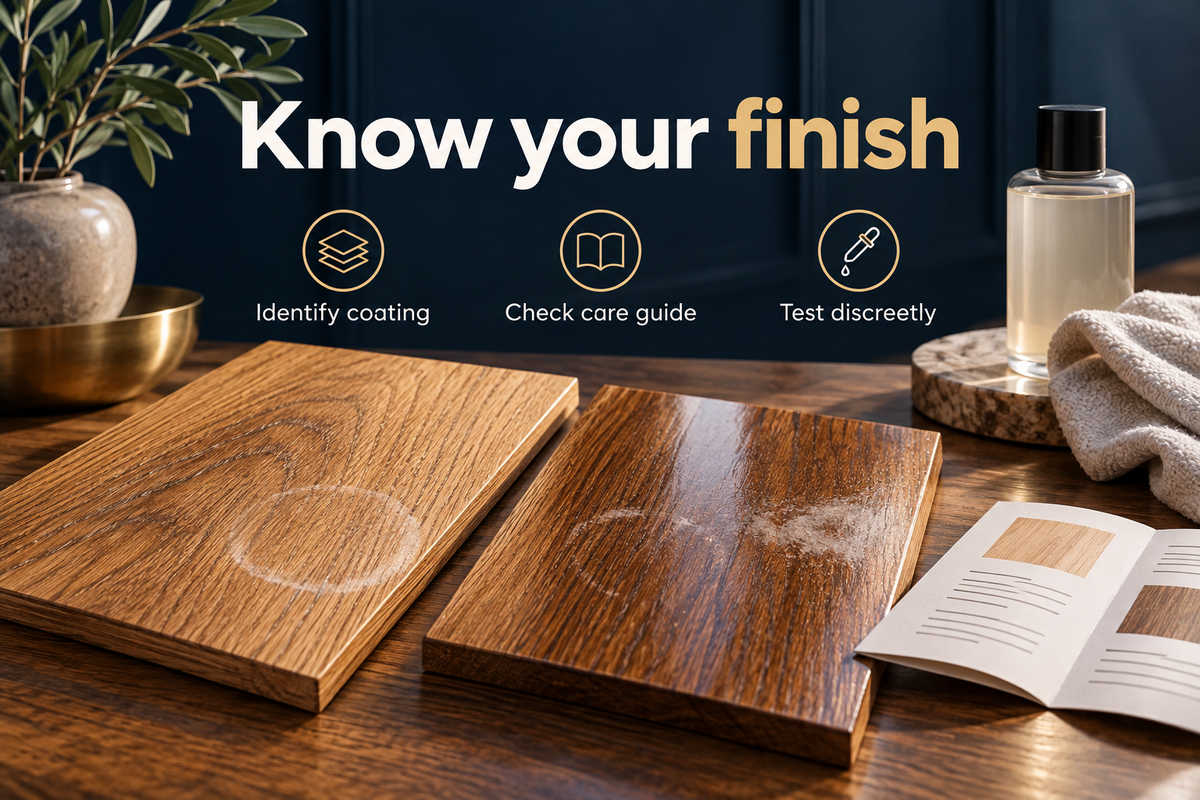
The cleaning method belongs to the finish system, not simply to the timber species. An oak floor finished with oil can need different care from an oak floor with a film-forming coating.
- Find the installer or coating records and identify whether the surface is lacquered, polyurethane-coated, oiled or waxed.
- Check the manufacturer’s instructions for the exact care product, application method and whether any cleaner needs dilution.
- Ask what has already been used on the floor. Products added by a previous owner may affect how the next treatment behaves.
- Look for areas where the coating is worn through, peeling or soft. Those are poor places to experiment with a wet cleaning process.
- Avoid assuming that “natural”, “timber safe” or “multi-surface” means compatible with every floor finish.
- If the floor was recently refinished, contact the applicator before washing it. The permitted cleaning time depends on the coating and curing conditions.
- For engineered flooring, keep the product details as well as the finish details. A later repair must respect the limited timber face.
A manufacturer-approved method is a better starting point than choosing a product because it removed a mark from a different household surface.
A Careful First Response to a Fresh White Mark
Deal with the source first and keep the treatment proportionate. The aim is to avoid turning a potentially minor mark into damaged coating.
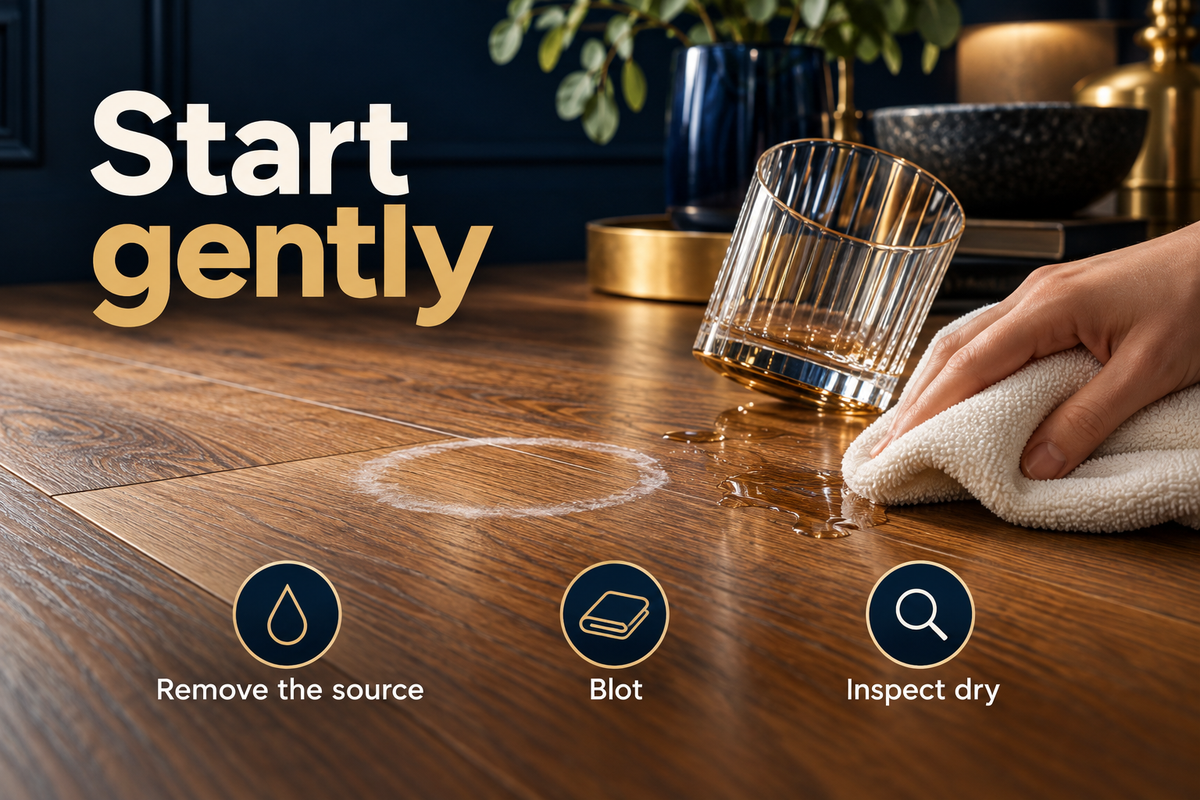
- Lift the wet object and blot remaining liquid with a clean absorbent cloth. Avoid spreading it across surrounding joints.
- Photograph the patch before trying a cleaner. Include the edges of adjacent boards and a wider view showing where it sits in the room.
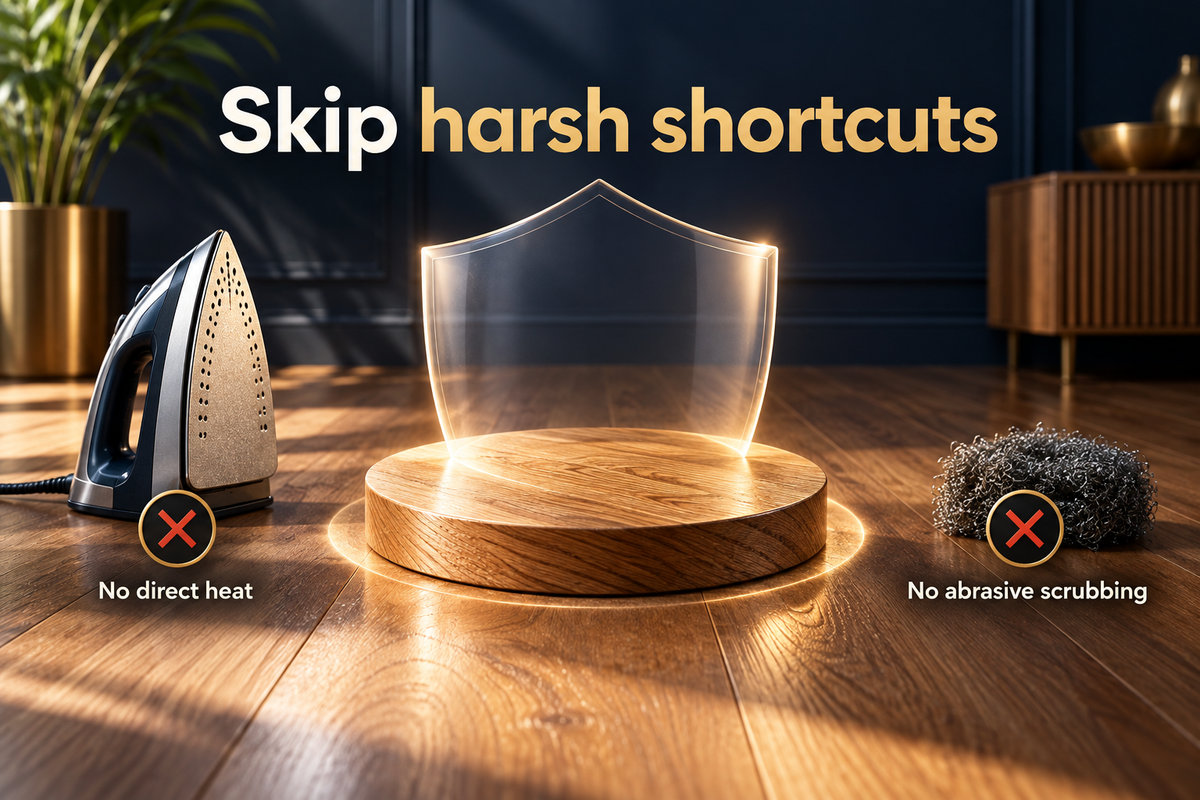
- Let the area remain uncovered under normal, suitable indoor conditions. Do not force it with a heater, iron or hair dryer.
- Where the finish is sound and the instructions permit it, test the approved cleaning method in an inconspicuous area first.
- Use the prescribed amount of product and a clean, suitable cloth or mop. Do not flood the floor to rinse away a stubborn mark.
- Inspect the area when it is dry. A temporary change while wet is not proof of a successful repair.
- Stop if the sheen changes, colour transfers, the finish softens or no useful improvement occurs.
Persistent marks deserve diagnosis rather than a sequence of increasingly aggressive trials. If the coating appears damaged, timber floor repair services can help determine whether the problem is limited to the surface.
Why Heat and Household Remedies Are Risky
Furniture remedies are often repeated as though every wooden surface has the same finish. A floor has its own coating, joints, wear history and exposure conditions, so that assumption can fail.
- An iron can leave a heat imprint, affect the coating or damage a broader area than the original ring.
- A hair dryer provides uncontrolled local heating and does not identify or fix the moisture source.
- Toothpaste and baking soda can abrade the finish, leaving a dull patch that is visible in reflected light.
- Vinegar and other acidic cleaners may be incompatible with the coating, even when diluted.
- Oil-based household mixtures can leave residues that complicate future adhesion and cleaning.
- Steel wool or abrasive pads can scratch the floor and should not be used without finish-specific approval.
- Applying polish over an unexplained mark may trap the problem beneath another layer or create a patchy sheen.
The ATFA guidance on coating reactions to household spills shows why ordinary products can permanently mark some finishes. Do not assume a product is harmless because it is routinely used elsewhere in the home.
When the Coating Needs Repair Rather Than Cleaning
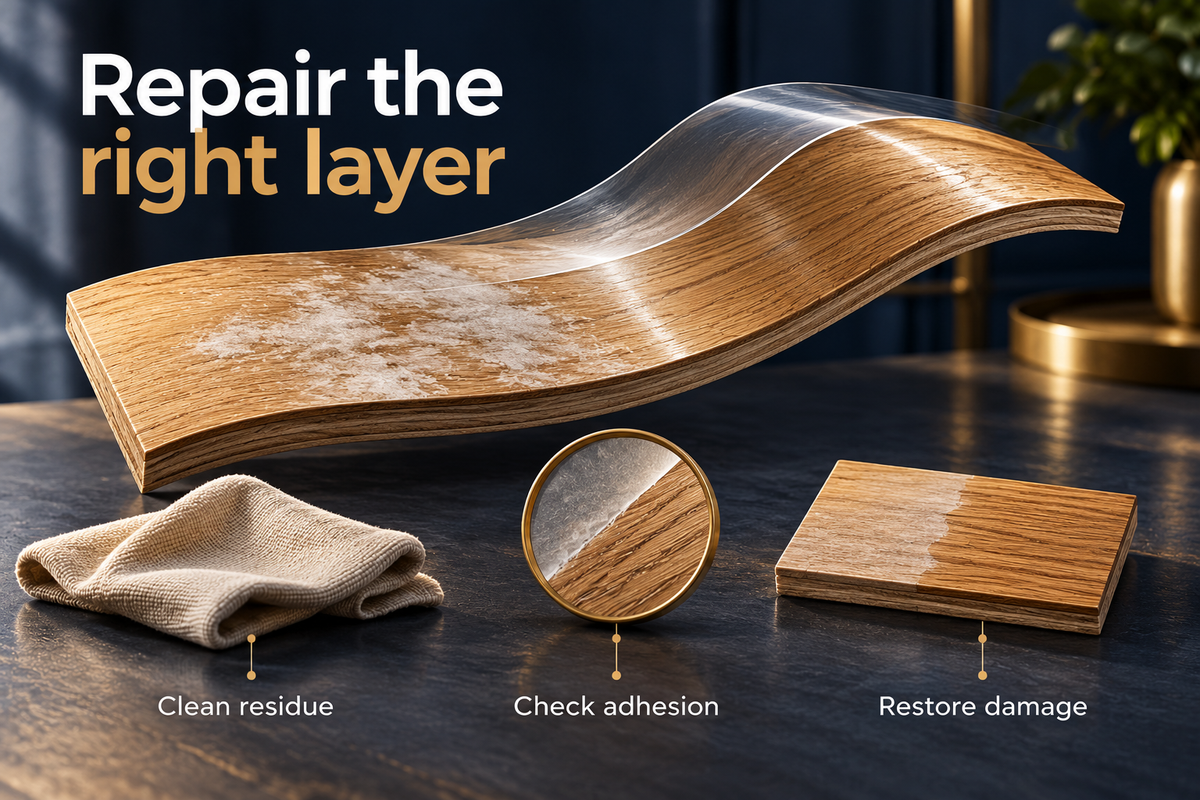
Cleaning removes suitable material from the surface; it does not rebuild a damaged film. Once the cause is understood, the repair should match the condition and extent of the problem.
Localised finish damage
A small area may be repairable using a method compatible with the original finish. Whether the repair blends depends on colour, sheen, age and how the room is lit. A patch that looks acceptable straight on may remain visible from a doorway or beside a window, so realistic expectations matter.
A worn but compatible coating
Where the existing coating is sound enough, a prepared maintenance recoat may improve appearance and protection. First establish whether polish, wax or other contamination will interfere with adhesion. Adding a coat over an unidentified cloudy film can leave the original problem intact beneath the new surface.
Failed finish or deeper damage
Peeling, widespread failure or damage extending into timber may require a more substantial restoration. Sanding suitability must be assessed, especially with engineered boards or a floor that has been refinished before. Moisture-related board movement must be resolved rather than hidden beneath a fresh coating.
| Finding after assessment | Possible route | Important condition |
|---|---|---|
| Removable residue on sound coating | Compatible cleaning process | Confirm the residue and product compatibility |
| Limited superficial finish damage | Suitable local repair | Accept that a sheen difference may remain |
| Worn, adherent coating | Prepared maintenance recoat | Check contamination and adhesion first |
| Failed coating or timber damage | Repair and appropriate refinishing | Confirm moisture stability and sanding allowance |
What Recurring Marks Tell You
A mark that returns after cleaning suggests the explanation is incomplete. The same mop product may be depositing residue each time, a mat may be trapping moisture, or a slow leak may be wetting an area again. Record when the mark appears instead of treating each episode as a new isolated stain.
Check whether the timing follows mopping, rain, appliance use or putting a rug back. Those observations can help an assessor choose where to look. They do not establish the cause by themselves, but they are more useful than a description that the floor “sometimes goes white”.
If the marks accompany raised edges, changing joints or a soft surface, pause cosmetic treatment. Investigation may need to include the floor’s moisture condition and the area underneath. A dry-looking top surface does not rule out a problem elsewhere in the assembly, and cleaning cannot correct movement caused below the coating.
Preventing White Marks After Cleaning or Refinishing
A consistent care routine makes new problems easier to spot. Keep the product instructions with the floor records so future cleaning does not depend on guesswork.
- Use the recommended cleaner and dilution, with a clean mop head that does not redistribute residue.
- Remove loose grit before damp cleaning to reduce surface abrasion.
- Avoid steam cleaning unless the flooring and finish manufacturers expressly permit it for that product.
- Check beneath mats and plant containers and remove trapped moisture promptly.
- Follow the applicator’s instructions for furniture, rugs and cleaning after refinishing; these are separate milestones, not one generic dry time.
- Choose mat backings and protective pads compatible with the finish and inspect them as they age.
- Test any proposed new care product discreetly and stop if it changes the sheen or feel of the surface.
For worn surfaces, planned wood floor refinishing may be more appropriate than repeatedly applying products to conceal cloudiness.
Frequently Asked Questions
White marks raise practical questions because the floor may otherwise look healthy. These answers help distinguish a careful first response from a repair decision.
Are white water marks always in the finish rather than the timber?
No. They can be associated with moisture in or on a coating, but appearance alone does not establish the depth or extent of damage. Check for swelling, joint changes and recurring moisture, and have persistent marks assessed before assuming the underlying timber is unaffected.
Why did my floor turn white after mopping?
Possible causes include cleaning residue, an unsuitable product or moisture affecting a vulnerable finish. Review the cleaner, dilution, mop condition and amount of water used. Do not repeat the same process with more product if the haze becomes worse after each clean.
Can I use an iron to remove the mark?
It is not a suitable general recommendation for a timber floor. Heat can affect the coating and create a larger visible patch. Identify the finish and cause first, then use the manufacturer’s care guidance or obtain a professional assessment rather than applying concentrated heat.
Will floor polish cover a white patch?
It might change how the patch reflects light temporarily, but it does not identify or repair the cause. An incompatible polish can add residue or interfere with later recoating. Avoid layering products over a mark that has not been diagnosed.
Does a white mark mean the floor needs sanding?
Not automatically. Residue may respond to appropriate cleaning, while some coating damage may suit a local repair or compatible recoat. Full sanding is only one option and depends on the timber’s condition, remaining thickness and whether a moisture problem has been resolved.
Arrange a Timber Floor Finish Assessment in Sydney
Before trying another household remedy, establish whether the mark sits on the finish or reflects damage within it. That distinction can preserve both the coating and the timber below.
Send 5 Star Wood Care Sydney photographs taken in normal light, the names of products used and details of any recent spill or refinishing. Explain whether the mark changes after cleaning or returns in the same place.
Arrange an assessment of your timber floor to discuss a suitable cleaning, repair or refinishing approach.